
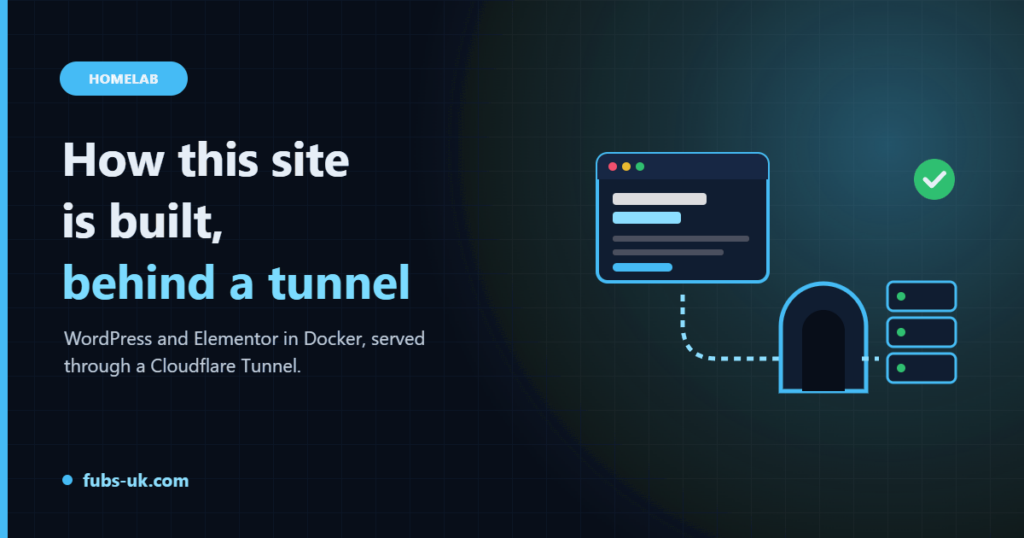
It felt wrong to run a homelab blog on someone else’s hosting, so this site is self-hosted. But I didn’t want to open ports on my router or put my home IP address in public DNS either. Here’s how it all fits together.
The big picture
Visitor ──► Cloudflare ──► Cloudflare Tunnel ──► cloudflared ─┬─► WordPress (main site)
                                                               └─► Flarum (forum)
                                        WordPress + Flarum ──► MySQL
Everything runs as Docker containers on one VM at home:
- WordPress with the Astra theme and Elementor for page design
- Flarum for the community forum
- MySQL 8 shared by both (separate databases and users)
- cloudflared, the Cloudflare Tunnel connector
Why a Cloudflare Tunnel?
A tunnel flips the usual model around. Instead of the internet connecting in to my server, the cloudflared container makes an outbound connection to Cloudflare and keeps it open. Visitors hit Cloudflare, and Cloudflare sends the traffic down the tunnel.
That means:
- No open ports on the router.
- My home IP never appears in DNS. The site’s records point at Cloudflare.
- Free HTTPS at Cloudflare’s edge, plus its caching and firewall.
Setting one up is mostly clicking: Cloudflare Zero Trust → Networks → Tunnels → Create, copy the token into the container, then add a route for each hostname pointing at a container name, e.g. http://wordpress:80. Because cloudflared sits on the same Docker network, it reaches the other containers by name.
The compose file (simplified)
services:
  db:
    image: mysql:8
    restart: unless-stopped
    environment:
      MYSQL_ROOT_PASSWORD: ${MYSQL_ROOT_PASSWORD}
    volumes:
      - ./data/mysql:/var/lib/mysql

  wordpress:
    image: wordpress:latest
    restart: unless-stopped
    depends_on: [db]
    environment:
      WORDPRESS_DB_HOST: db
      WORDPRESS_DB_NAME: wordpress
      WORDPRESS_DB_USER: wordpress
      WORDPRESS_DB_PASSWORD: ${WORDPRESS_DB_PASSWORD}
      WORDPRESS_CONFIG_EXTRA: |
        if (isset($$_SERVER['HTTP_X_FORWARDED_PROTO']) && $$_SERVER['HTTP_X_FORWARDED_PROTO'] === 'https') {
          $$_SERVER['HTTPS'] = 'on';
        }
    volumes:
      - ./data/wordpress:/var/www/html
      - ./wordpress/uploads.ini:/usr/local/etc/php/conf.d/uploads.ini:ro

  cloudflared:
    image: cloudflare/cloudflared:latest
    restart: unless-stopped
    command: tunnel run
    environment:
      TUNNEL_TOKEN: ${TUNNEL_TOKEN}
Passwords and the tunnel token live in a .env file, never in the compose file itself.
Two gotchas worth knowing
1. “Too many redirects”. Cloudflare talks HTTPS to visitors but plain HTTP down the tunnel. WordPress sees HTTP, decides it should redirect to HTTPS, and you get an endless loop. The WORDPRESS_CONFIG_EXTRA block above tells WordPress to trust Cloudflare’s X-Forwarded-Proto header. (Note the doubled $$, which stops Docker Compose treating them as variables.)
2. Elementor needs more memory. The default PHP limits are too small for Elementor, and the editor just spins forever. A small uploads.ini mounted into the container fixes it:
memory_limit = 512M
upload_max_filesize = 64M
post_max_size = 64M
max_execution_time = 300
Why I switched from Ghost to WordPress
I actually started this site on Ghost. Ghost is lovely: fast, clean and great for writing, but I had used WordPress before, so felt right at home straight away.
Because everything was in Docker, the switch was painless: stop the Ghost container, create a WordPress database, start WordPress and repoint the tunnel. The forum didn’t even notice.
Keeping it secure
Self-hosting a public website means taking security seriously. The checklist I work from:
- Don’t use
adminas the admin username, and keep the password long and in a password manager. - Rate-limit login attempts with a plugin.
- Block
/xmlrpc.phpwith a Cloudflare WAF rule. It’s a favourite target for brute-force attacks. - Keep plugins to a minimum. Every plugin is something else to keep updated.
- Run nightly backups of both databases and the site files to a different machine.
Keeping it updated
- WordPress core, themes and plugins: update from the dashboard roughly weekly, and turn on auto-updates for plugins you trust.
- Containers, monthly: back up first, then
docker compose pull && docker compose up -d.
What’s next
Next up: getting the Live page hooked up properly for when I’m back streaming on Twitch, and getting the forum going. Come and say hello!